All posts by rmartin

Jerky

Marinade:

  • 1kg meat (eg top sirlon) in ~7mm slices
  • 100ml soy sauce
  • 250ml beer
  • 1 tbsp coarse salt
  • 1 tbsp pepper
  • 1 tsp garlic powder
  • 1 tsp onion powder
  • 1 tsp paprika

Marinate the meat for 6-24 hours (overnight), not more.

185F for 4.5 hours in smoker, turn after 2 hours.

Rüblitorte (Gâteau aux Carottes, Carrot Cake)

Make the cake the day before eating it.

Mix together:

  • 300g sugar
  • 5 egg yolks (mix sugar and yolks first)
  • 300g almond meal/flour
  • 300g ground carrots
  • 50g flour
  • 1 tsp baking powder
  • Zest from 1 lemon
  • Juice from 1 lemon (reserve 2 tbsp for icing)
  • 2 tbsp Kirsch

Separately, beat the egg whites (x5) with a pinch of salt and carefully fold them into the rest of the batter.

Pour into buttered springform, bake for 1 hour at 350F.

Cool for 5 min, release spring form, cool completely before icing.

Flip cake upside down to remove spring form base. Depending on how pretty the cake is, you can leave it upside down, since the base is nice and flat!

Icing:

  • 300g powdered sugar
  • 2 tbsp lemon juice
  • 2 tbsp water

Marzipan carrots:

Make the carrots the day before the cake.

  • 200g powdered sugar
  • 200g finely ground almond flour
  • 2 tbsp egg white (1 egg white)
  • 2 tsp pure almond extract
  • 70 drops of yellow + ~6 drops of red food colouring

This makes about 35 carrots (two cakes and some extra). Mix all the wet ingredients together (including food colouring!!!) before mixing into the dry ingredients. It takes a fair bit of kneading to get it mixed uniformly. Store in the fridge.

Sourdough Doughnuts/Bomboloni/Boules de Berlin

The recipe is based on this one.

Make a levain, not too sour:

  • 45g starter (100% hydration)
  • 90g water
  • 90g all purpouse flour

Make the levain, let it become very active, 4-6 hours.

Build the dough, in the stand mixer, with dough hook (not paddle as in above website). Only add the butter at the end, in phases.

  • 250g all purpouse flour
  • 250g bread flour
  • 100g sugar
  • 10g salt
  • 187g eggs (3 eggs + 1 yolk + whatever is required from last egg white)
  • 100g water
  • 200g levain (quantity above with evaporation)

Mix well, ~10min in stand mixer (while adding in the butter).

Let rise for a good 6 hours in warm area, won’t quite double in size. Then, overnight in the fridge.

Next morning, use cold dough and some flour to make ~18 portions of 65g in tight little balls. They are quite sticky, it takes some time to get the hang of making tight dough balls that small!

Place far enough apart on generously floured trays so that they can spread out a double in size. They are very delicate at the end, and it will be very difficult to unstick them from the trays!

Brush with water and let rise for ~12 hours. Cover if not is a very humid environment (e.g. proofing oven). Can put in the fridge after the proofing, remove from fridge and do the final 2 hours of proofing in the morning.

Place (back) in the fridge for 30min as you prepare the oil, ~350F. Cooling them down makes them slightly less super difficult to pick up. Place in the oil with the side that was proofing on top downwards, into the oil (i.e. flip them). 90 seconds on each side.

Place on paper towel to remove the oil for ~1min, then coat with sugar. Can fill them with creme patissiere (see below, from same website).

Creme patissiere:

  • 365g milk
  • 4 egg yolks
  • 30g flour
  • 100g sugar
  • 1g salt
  • 4g vanilla extract

Bring milk to just under boil (don’t boil!) in a saucepan.

Mix all the other ingredients into a bowl.

Slowly pour milk into the other ingredients, whisking. Then pour back into the saucepan, and gently bring to a boil on medium. As soon as it starts to boil, it will be thick and make big bubbles, remove it from heat and pour it through a strainer into a clean bowl.

Cover the surface with plastic (push onto the surface to prevent skin from forming), and refrigerate until needed.

Cinnamon Bread

  • 390g flour (hard flour – bread flour)
  • 50g sugar
  • 5g salt
  • 2 1/4 tsp dry yeast (instant or active, 7g, the standard amount_
  • 250ml milk
  • 70g butter, softened
  • 50g sugar + 2 tsp cinnamon + melted butter (for filling)

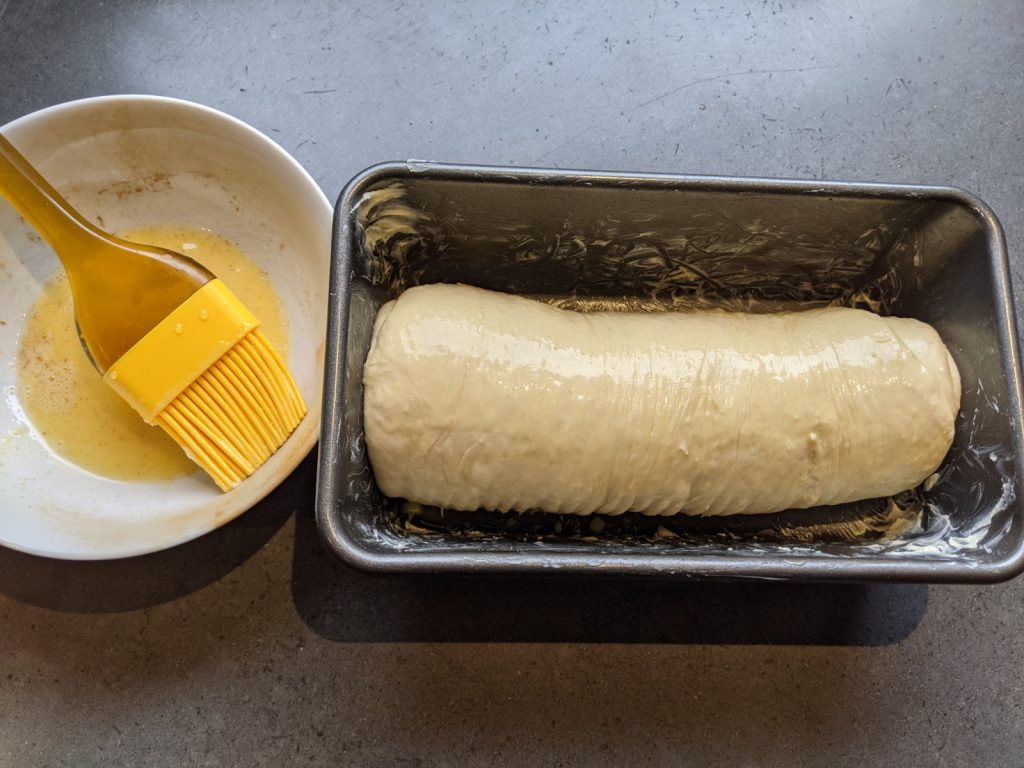
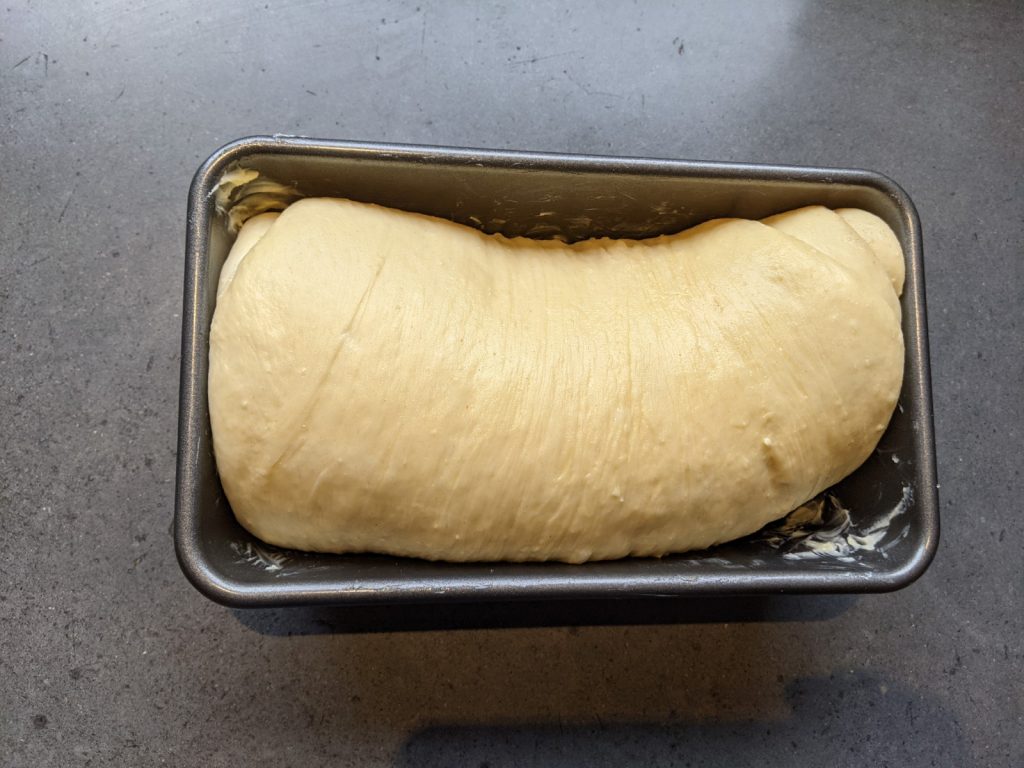
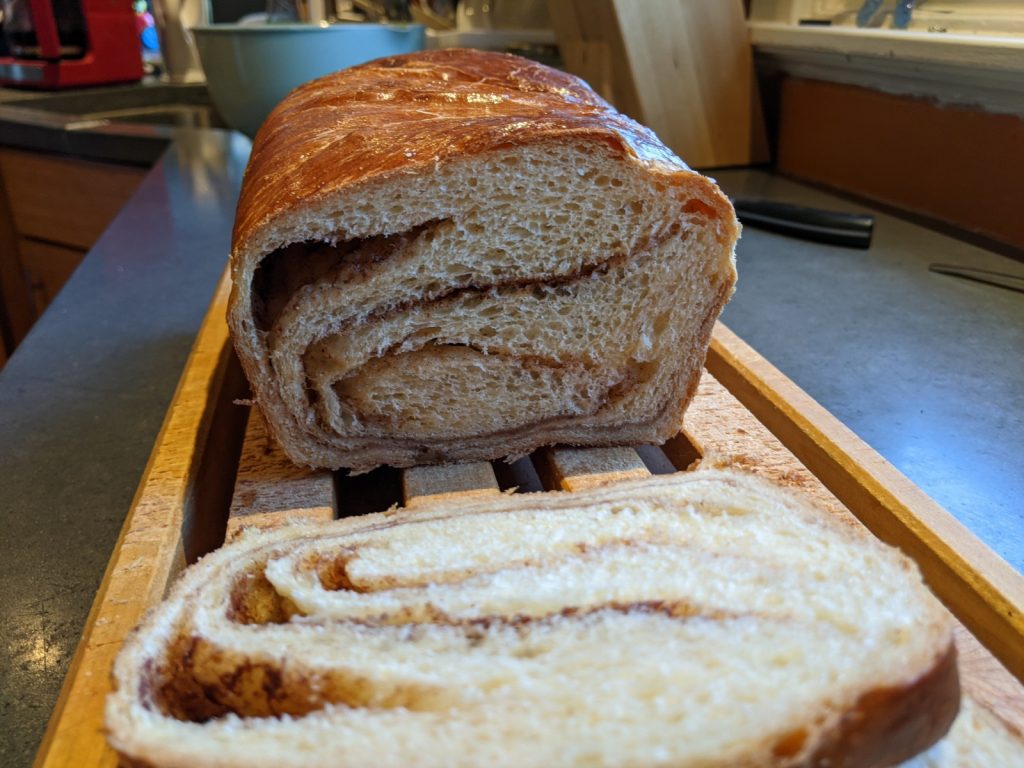
Make the dough, let it rise. Roll it out to a rectangle ~1cm thick (such that the width is less than the length of the loaf pan; allow for a good tolerance). Brush melted butter, sprinkle with filling, roll it up, gently and carefully pinch the seams closed. Place in greased loaf pan, seam side down, egg wash, and rise again until double.

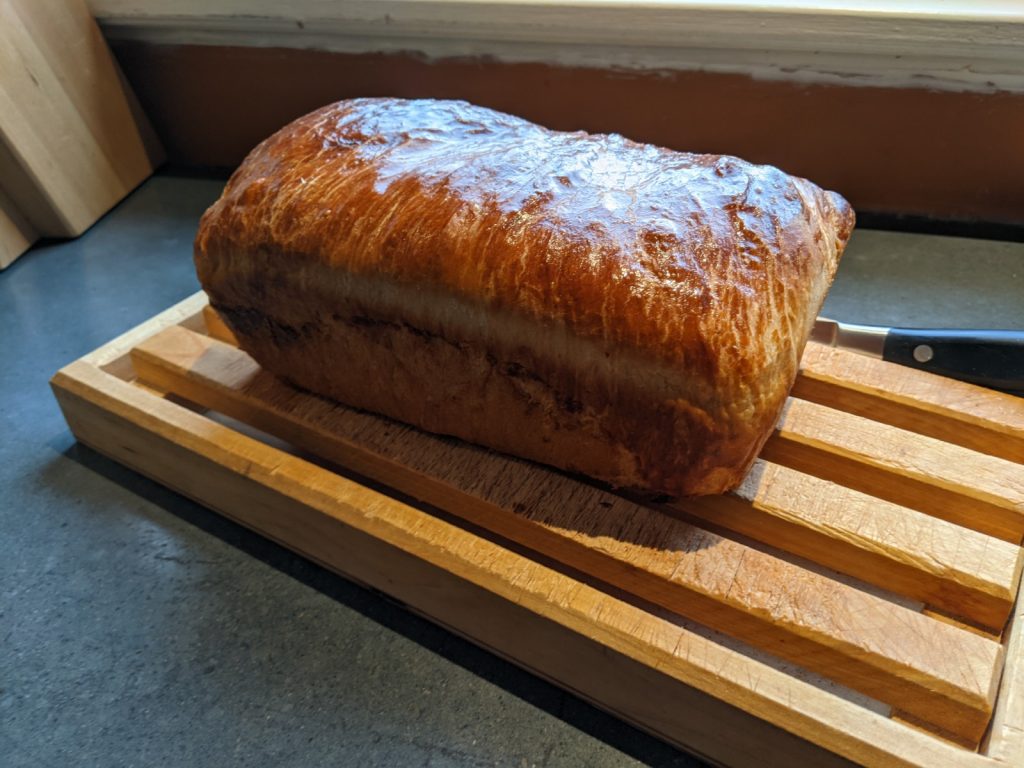
Egg-wash + oven at 350F for 35-45min.

Remove from loaf pan when cooling, after 10min or so.

Sourdough Croissants

Sourdough croissants

Detrempe:

  • 500g all purpose flour (not bread flour!)
  • 75g sugar
  • 10g salt
  • 225g active starter
  • 300ml warm milk

Beurrage:

  • 285g butter (room temp to start)

The recipe is timed to eat Sunday morning, but can be adjusted to Saturday morning by starting Thursday evening.

Friday morning (For Sunday morning croissant)

Feed starter to make 225g active starter by noon or so.

Friday at noon

Mix ingredients for detrempe in stand mixer for 4-5min. Just so it barely stays together (less gluten -> easier to roll).

Let it rise at warm temperature, ~4 hours (or whatever to double or more in size, could be 6-8 hours). Do a few stretch and folds at the beginning.

Use plastic wrap and an 8″x8″ cooking pan to make a flat square of butter (beurrage). It takes longer than you think.

Place detrempe and butter in fridge overnight.

Saturday morning:

Let the butter warm for 30min. Make sure the butter and dough have about the same consistency.

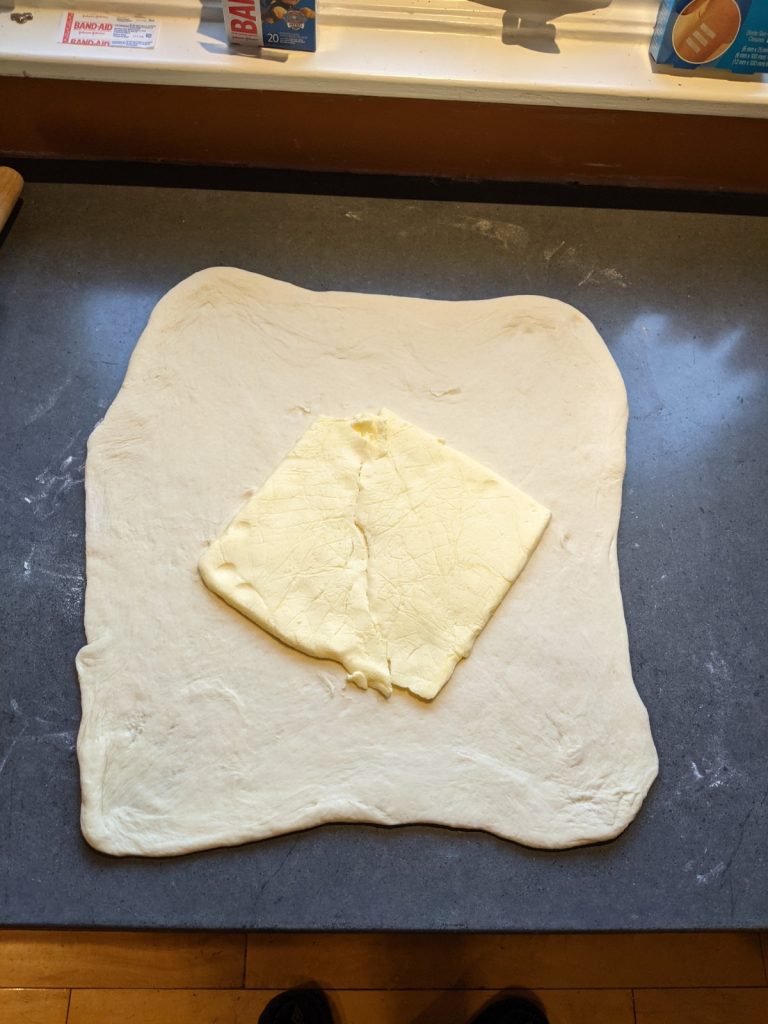
Roll dough out to a square 16 x 16 (double the butter). Place butter on the dough (rotated by 90 degrees) and fold the dough flaps over, like an envelope. Seal them well, pressing together. You now have an 8 x 8 dough with butter.

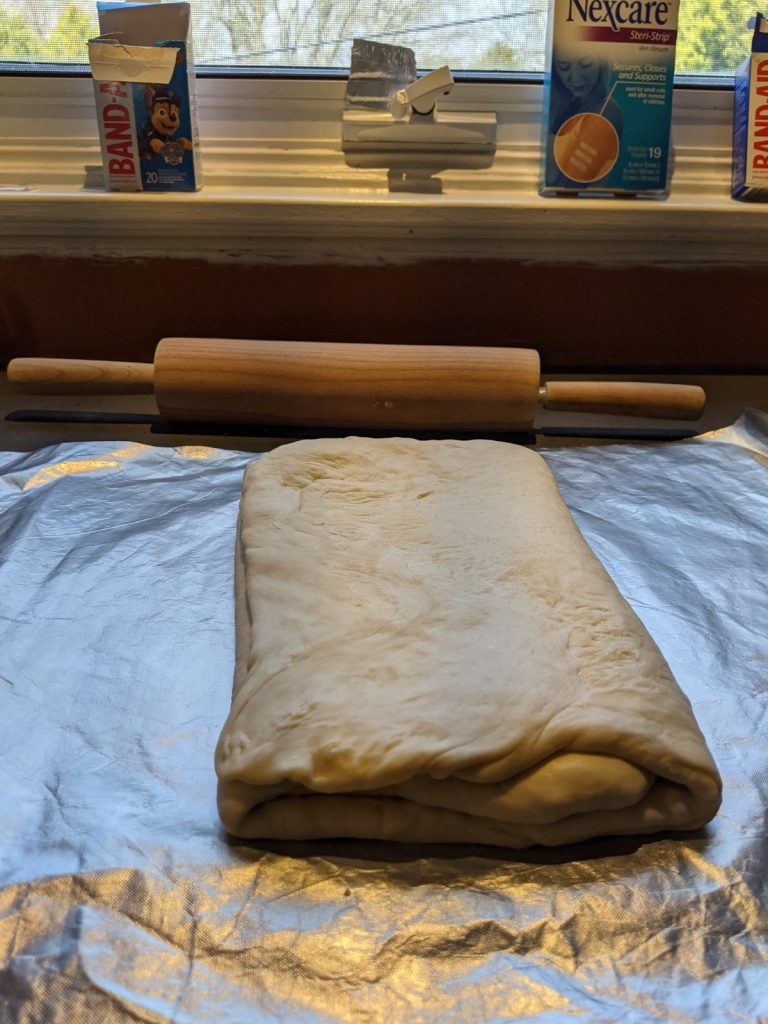
Roll the dough out to a rectangle, length 3 times the width (8 x 24). Fold one third over the middle, then the other third over that. (1st turn)

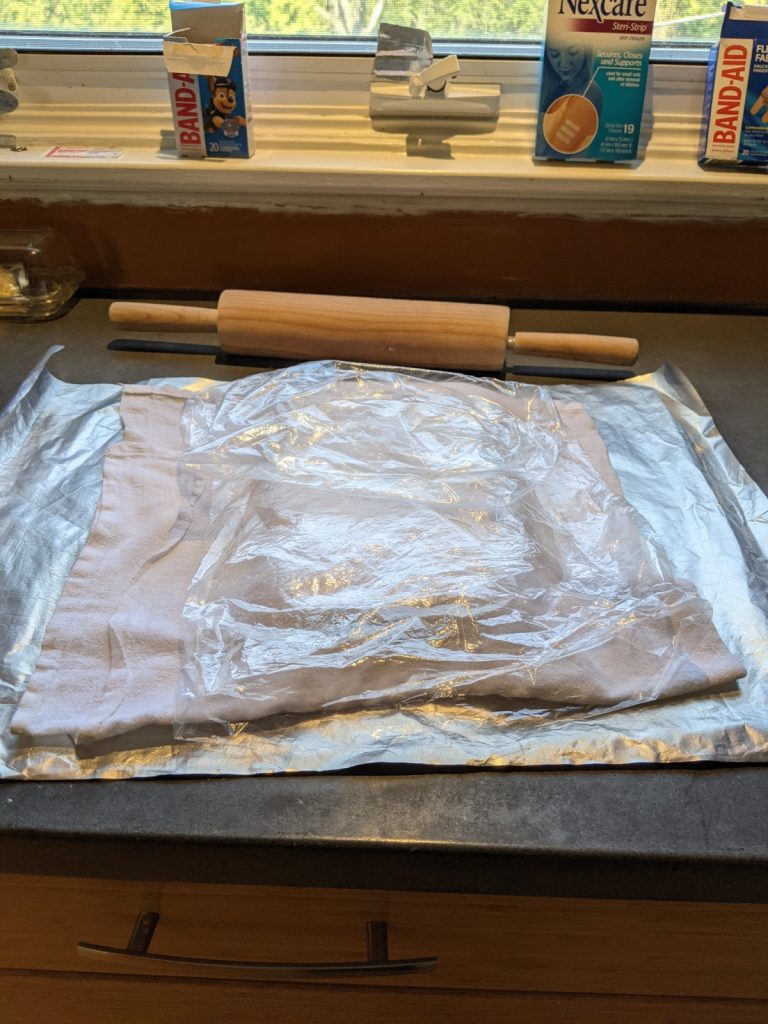
Let dough rest ~ 30min at room temperature (not too warm that butter melts, not too cold that butter shatters when rolled – should feel cool, not cold or warm). Refrigerate as needed. Can also let rest much longer than 30min (e.g. 8 hours, then leave it mostly in the fridge to ferment, take out ~30min before rolling so that butter warms up, but not too much). The dough should still spend some time (an hour here and there) out of the fridge to rise a bit if needed (it should puff up a little between folds).

Do a second turn, perpendicular to the first. Rest another30min (or more). Then do the third turn, perpendicular. Rest another 30 min or more , except if putting in the fridge over night.

A few options depending on the timing:

  1. Refrigerate dough overnight. Get up early, roll croissants, proof for 2-4+ hours, put in oven.
  2. Roll croissants, proof overnight on counter (covered with plastic). This till required a ~2 hour proof in the oven on proof setting in the morning.

Freeze the croissants after rolling them. Then, thaw/proof overnight on counter and a few more hours at warmer temperature if needed.

Should use water or egg wash during proofing to keep surface soft. You can’t easily move the croissants after proofing, so proof them on whatever is going in the oven!

Proofing should make the croissants puffy, jiggly, at least two times larger (but ideally more, see pics). Time will depend on starter and temperature. Can do the proofing in a warmed up oven (then, it’s closer to the 2hr mark).

Sunday morning:

Proof (if needed, with egg wash if just before baking)

Egg-wash (egg + milk).

15-20min at 400F (I lowered it to 380 after 12min, and baked for 18min total, but it will depend on the size of the croissants). They are cooked when they are a nice deep golden brown! Maybe earlier!

To fashion croissants, divide dough in 2. Roll out dough to ~3-5mm, in a rectangle of height ~25cm. Make isoceles triangles with base 10cm. Roll into croissants. Use scraps! Should make of order 10 croissants for each half of the dough (so 20 total, but freeze half, 10 is a lot).

Sourdough Waffles (Gauffres de Liege)

  • 300g flour
  • 25g sugar (2 Tbsp)
  • 2g salt (1/2 tsp)
  • 200g starter (refreshed, 100% hydration)
  • 250g water or milk
  • 110g butter, melted
  • 1 tsp vanilla
  • 1 large egg
  • 1 cup pearl sugar (~150g?)

Makes about 12 waffles (rectangle ones).

Mix all ingredients except pearl sugar, let rise over night, in fridge if already had some time to rise at room temp (e.g. 4 hours at room temp, then spend the night in fridge).

Mix in pearl sugar just before using (so that it doesn’t dissolve).

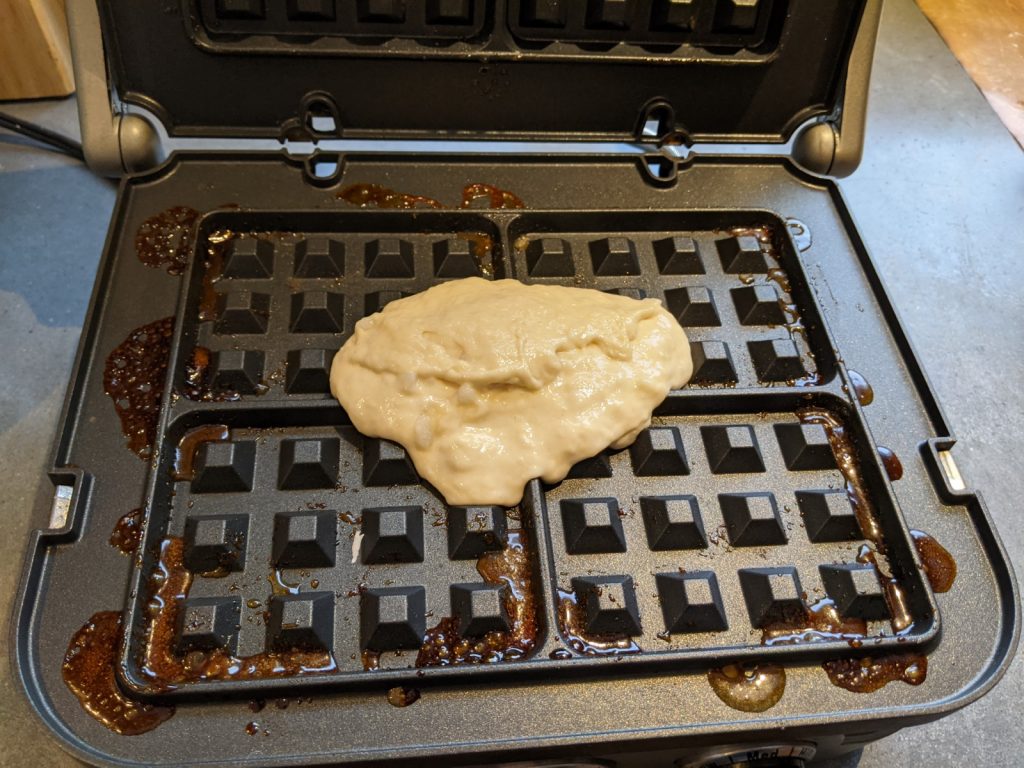
Plop some batter onto waffle maker and cook until golden (375F for 7:30min a la Marceline). Caramel is water soluble, easy to clean at the end. Don’t leave a waffle spot empty or the caramel there will burn.

Malakoffs

  • 500g de Gruyère râpé
  • 30g farine
  • 30g vin blanc (un peu de kirsch avec si on veut)
  • 2 oeufs
  • Poivre, noix de muscade (si on veut)
  • pain (p. ex. pain de mie)

Bien mélanger les ingrédients pour la pate (râper le Gruyère en assez petits morceaux), et laisser reposer 30min au frigo.

Faire des petites boules/domes et mettre sur les tranches de pain. On peut mettre un peu de moutarde sur le pain.

Frire dans l’huile a 180C/350F (#4 à la Marceline), 3.5min côté fromage en-bàs, puis 1.5min côté pain en-bàs (5min total). Il faut que ce soit encore un peu fondant au milieu!

Essorer sur du papier linge, et manger tout de suite avec des choses aigres (salades, cornichons, etc)!

Ça m’a pris 500ml d’huile, et ça sent bien la friture dans la maison après!

Stroganoff (Beef or Barley)

  • Mushrooms
  • Butter (60g or so)
  • 1 big onion
  • 2/3 cup sour cream
  • (1kg beef, tenderloin in strips ideally)
  • 2 Tbsp Dijon mustard
  • 2 cups veg/beef/chicken broth
  • 1/4 cup flour

If doing with beef, heat non-non-stick pan (a sticky pan!) to quite hot with some oil. Fry half of the beef 30s on one side (without stirring), then flip, 30s, then remove. It will likely still have some pink uncooked parts. Reserve the beef and fry the other half. This makes a “fond” (obviously) that makes the sauce better, but it’s good without beef too!

Melt butter, fry onion for 1min, then add mushrooms, fry on medium high until mushrooms start to brown/golden (~10min). Sprinkle flour over the mushrooms and onions, fry for another few minutes.

Pour in 1 cup of broth while stirring well, then the other cup. Add the sour cream and mustard and dissolve them. Simmer just below boiling for a bit (it thickens somewhat, but not much, which is ok).

If using beef, add the beef back in, cook for another minute (or whatever so that beef is reheated but not gross and overcooked!).

Super good with barley – cook (rinsed) pearl barley (1 barley / 3 broth, by vol) covered for 40min. Add butter and stir in the stroganoff to make a risotto-like deliciouness. It takes about the same amount of time to cook the barley on the side….

Couronne des rois

  • 375g farine blanche (à pain)
  • 125g farine d’épeautre
  • 2 CS sucre
  • 1 CC sel
  • 60g beurre ramoli
  • 20g levure (7g seche, 2 1/4 CC)
  • 300ml lait tiède
  • 1 blanc d’oeuf (jaune pour badigeonner)
  • 1 poignée de raisins secs
  • 1 amande entière
  • amandes efilées pour mettre dessus

Mélanger les ingrédients secs (avec la levure si rapide/quick rise) et le beurre en morceaux. Faire un puits, rajouter le lait et le blanc d’oeuf. Pétrir 10min, jusqu’à une pâte lisse, rajouter les raisins à la fin. Laisser recouvert et doubler de volume, environ 2 heures.

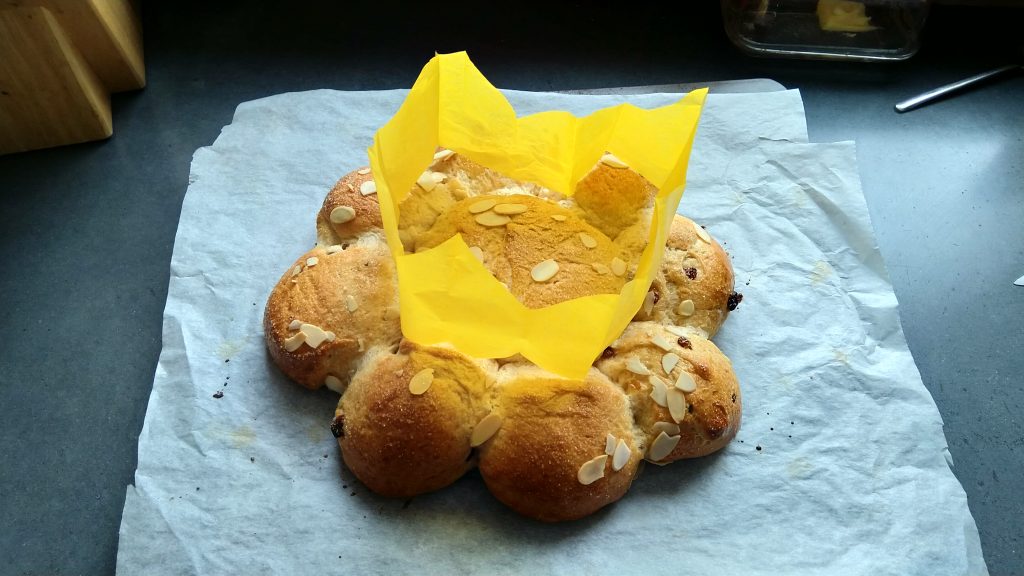
Prendre un quart de la pâte et faire une grosse boule. Faire 8 autre petites boules avec le reste de la pâte et disposer autour de la grosse sur du papier cuisson. Mettre une amande entière dans une des petites boules. Recouvrir d’un papier cuisson et laisser reposer 30 minute.

Badigeonner d’un jaune d’oeuf battu avec 1 CC de lait.

Saupoudrer très généreusement de sucre, et mettre des amande efilées par-dessus.

Cuire au four a 350F (180C) pendant ~30min (28min à la Marceline), retirer quand c’est dorré. Laisser refroidir sur une grille.

Sourdough Starter

Making a simple starter

Use a large mason jar, something that has a wide opening but that is easy to cover. The first few days you make the culture bigger by adding flour and water, then you do the regular “feedings”.

Day 1: In the morning, mix 100g flour + 100g water with a fork until well blended. Use warm water. Leave the jar loosely covered at room temperature, ideally somewhere warm. In the evening, give it a good stir with the fork.

Day 2: You might already see some bubbles. In the morning, add 50g flour + 50g water, blend well with a fork. In the evening, give it a good stir with the fork.

Day 3: You probably see lots of bubbles and it smells sour. Add 50g flour + 50g water. Blend well.

Day 4: Either it’s really bubbly and smells sour or it’s not, either way, it’s getting a bit big to just keep adding. So now, you switch to “regular feedings”, with a ratio of 1:1:1 by weight of starter, flour, water.

Pour out all of the starter, and poor back into the jar 100g of the starter. Add 100g flour and 100g of water, and blend well with a fork. Leave loosely covered somewhere warm.

Repeat this every day until the yeast comes alive (discard all but 100g of starter, and then add 100g flour and 100g water).

Obviously, if you weigh the empty jar, you don’t always need to pour out all the starter to weigh it again. However, there is a significant amount of evaporation, so you do need to weigh the contents once in a while.

Since you do this every day, it’s a lot of wasted flour from all the starter that you have to discard. Instead of discarding it, you can fry the starter in a hot greasy non-stick frying pan, with some salt, and toppings (green onions, cheese, etc), and make a flat bread!

Most of the sour smell and bubbles, I think, are from bacteria. Eventually, the yeast starts growing too. At some point (depending on your local conditions, but it will happen!), once you do the feeding, the starter will more than double in volume within 4-12 hour of the feed, and then slowly come back down. It’s unmistakable, and be ready for it to spill out of the jar (that’s why you don’t seal the lid, or it would break the jar). This means the yeast it’s doing it’s thing! It took 2 and half weeks for me, and it can take up to a month.

Eventually, you will know how long it takes for your starter to peak after a feed. This will allow you to time the feeding so that the starter is ready at whatever time you need it to make dough. The starter is ready to be used in dough if it floats (take a sample and put in water).
Now that you’ve blown through a substantial amount of flour to get this thing started, you can feed it less often if you keep it in the fridge. In the fridge, only feed it once a week. Feed it, and after 2-3 hours place it in the fridge (this gives it enough time to invigorate).

If you need to use it, you should let it warm up the night before you feed it. It all depends on how active it is. As long as it floats, it should work in dough.